User Management
There are two ways to manage your users. In the PLAYER Navigation or in your WorkAdventure settings.
Player navigation
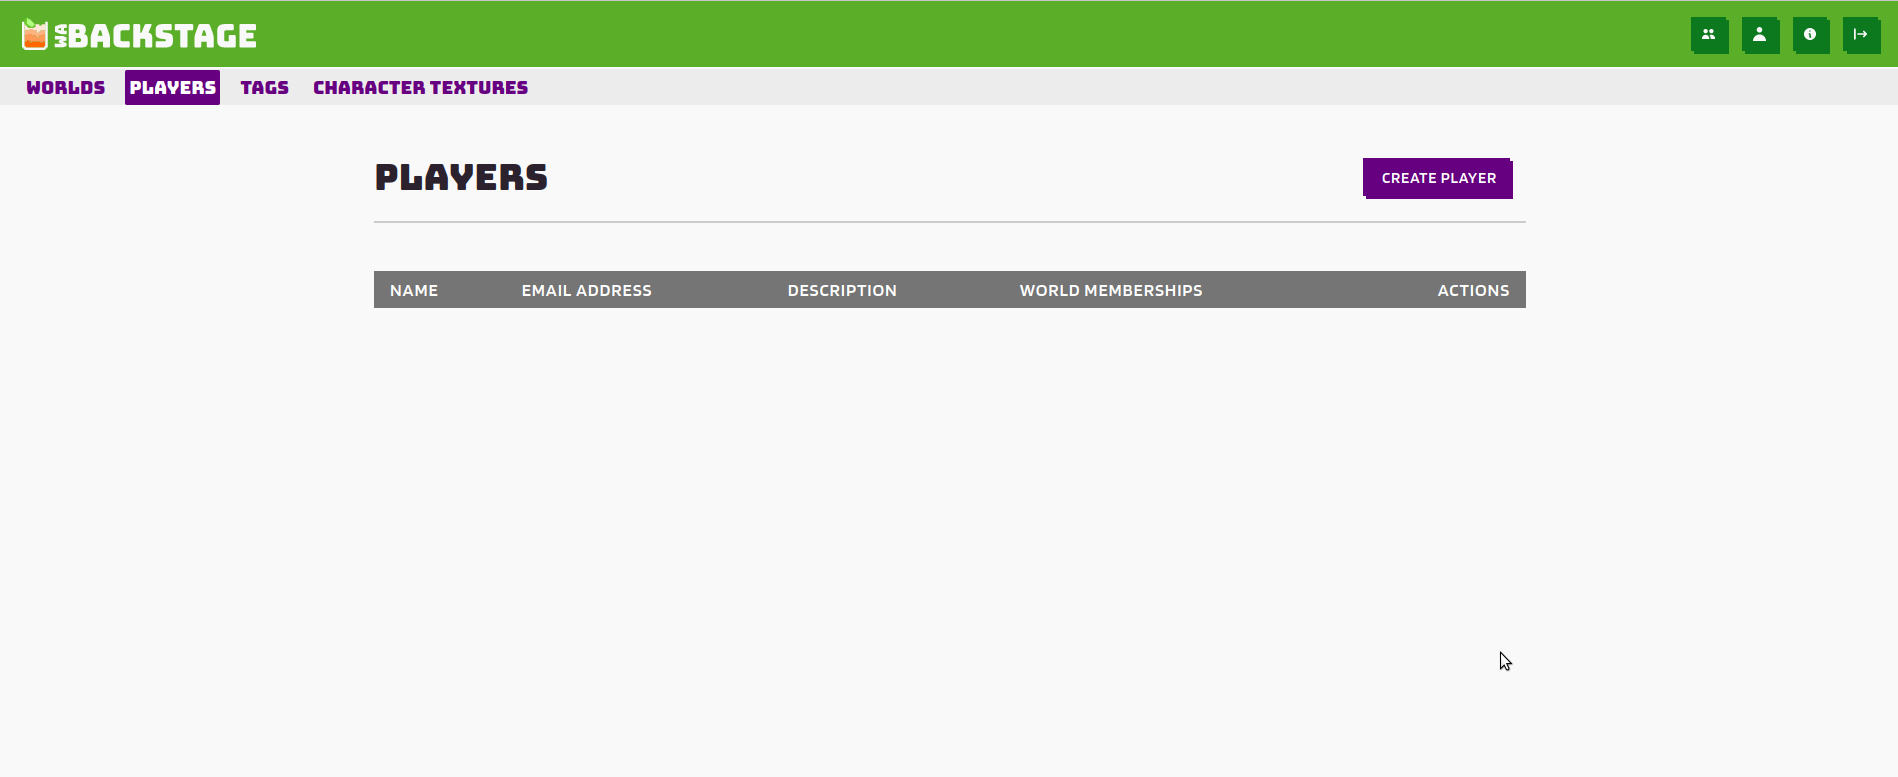
To create a global user navigate to "PLAYERS" and click on "Create Player".
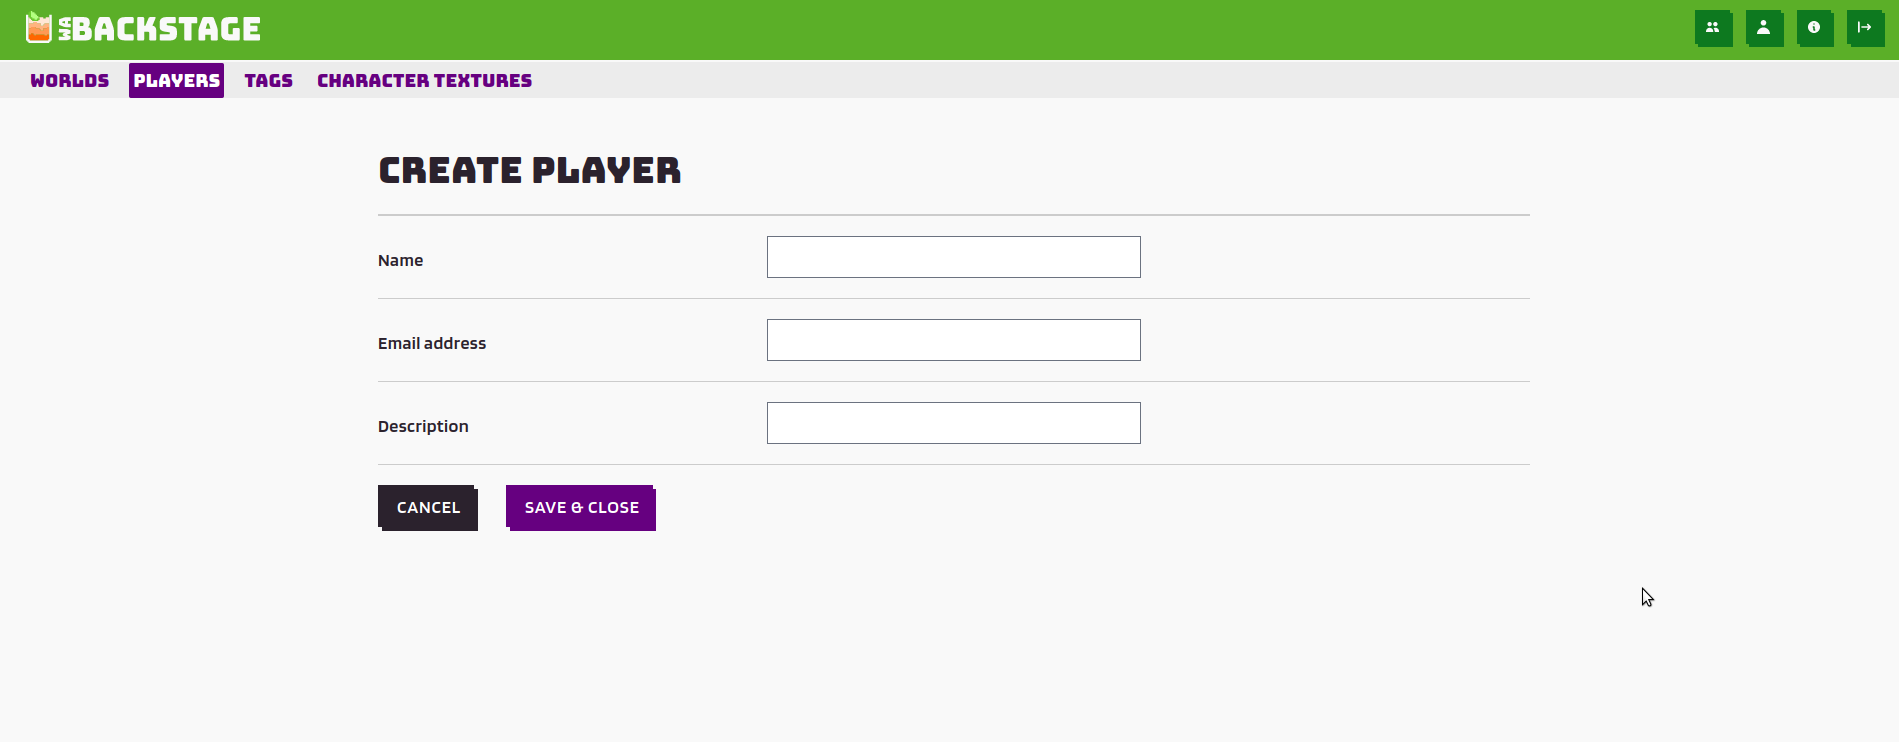 After this fill out the form
- Name
- Email address
- Description
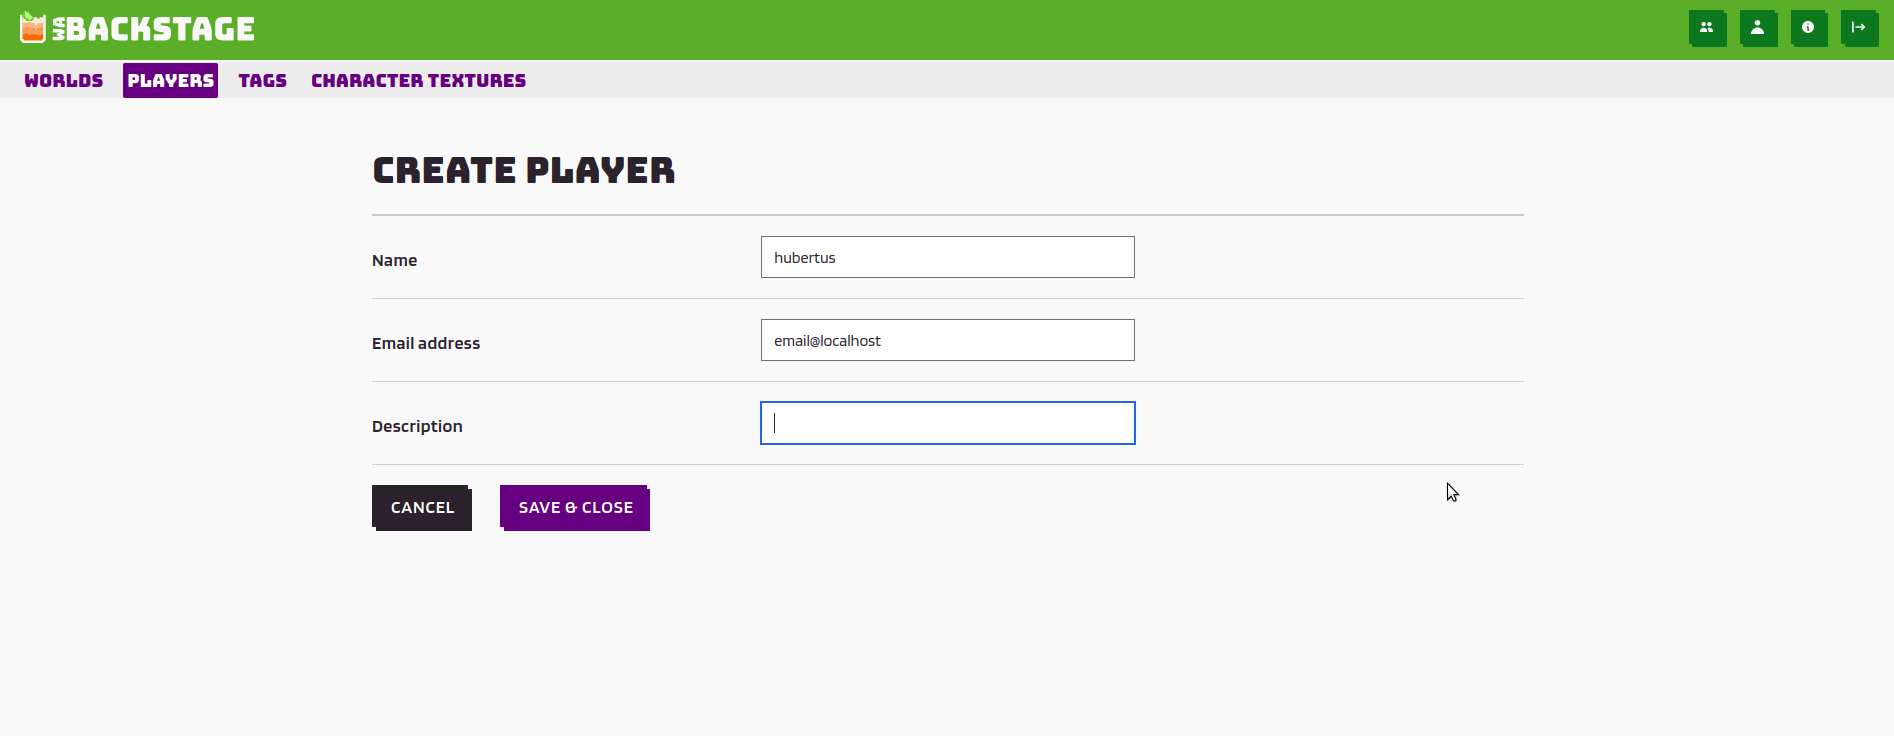 and create a user.
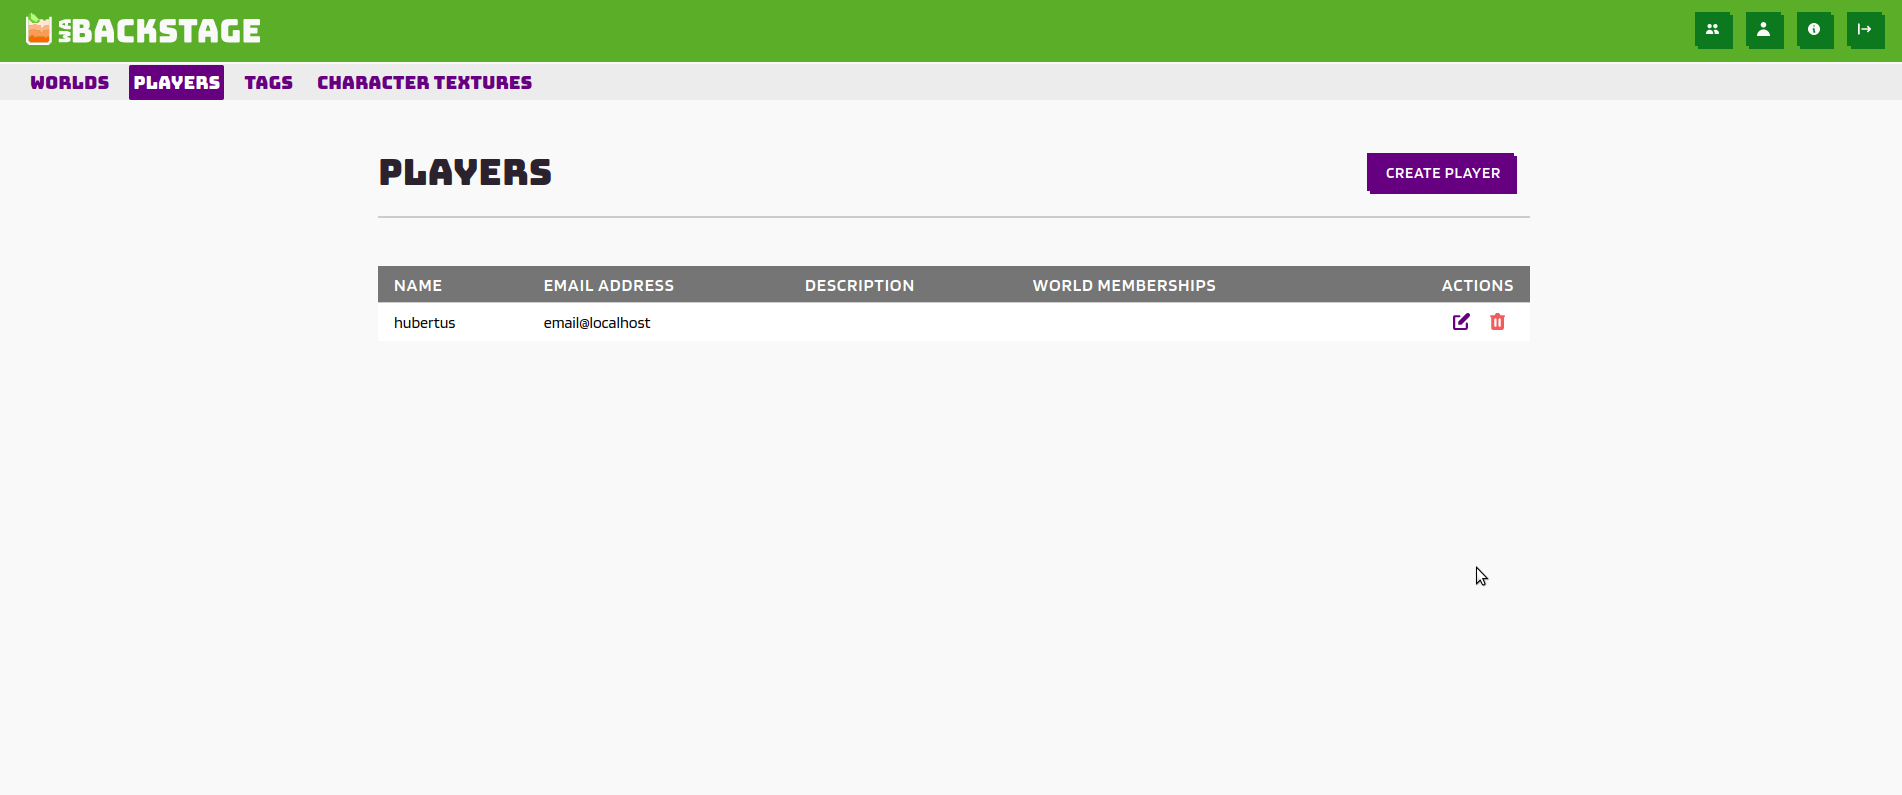
Add user(s) to a map
To allow only authenticated members in a world, they must be added to the world.
Import with csv
For this purpose, there is the possibility to import the names and the corresponding e-mail
addresses via a .csv file.
Navigate to the tab "WORLDS" and select the button "Import players" in your world.
Select your .csvfile and click "IMPORT".
Click now "View world details" (WORLDS >your world > view world details)
Navigate back to the purple highlighted "MEMBERS" area. Now all members, which were entered in the .csv file with name and e-mail address are imported.
Import users
In General:
To import users you need a .csv file with the following structure:
| username | |
|---|---|
| horst | email@mail.example |
Navigate back to WORLDS
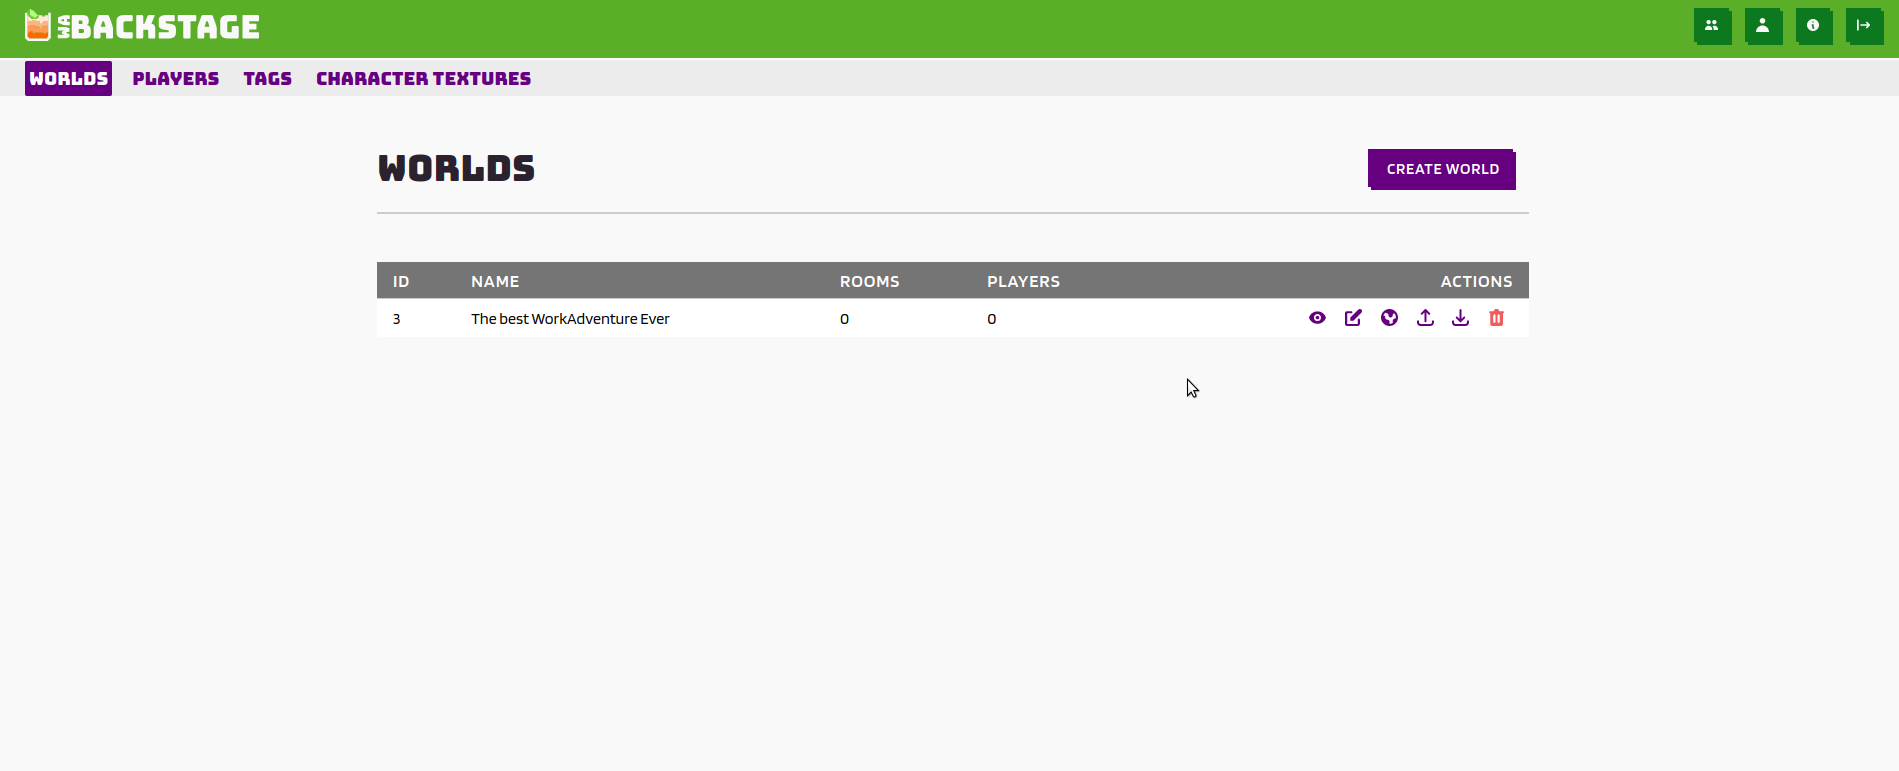
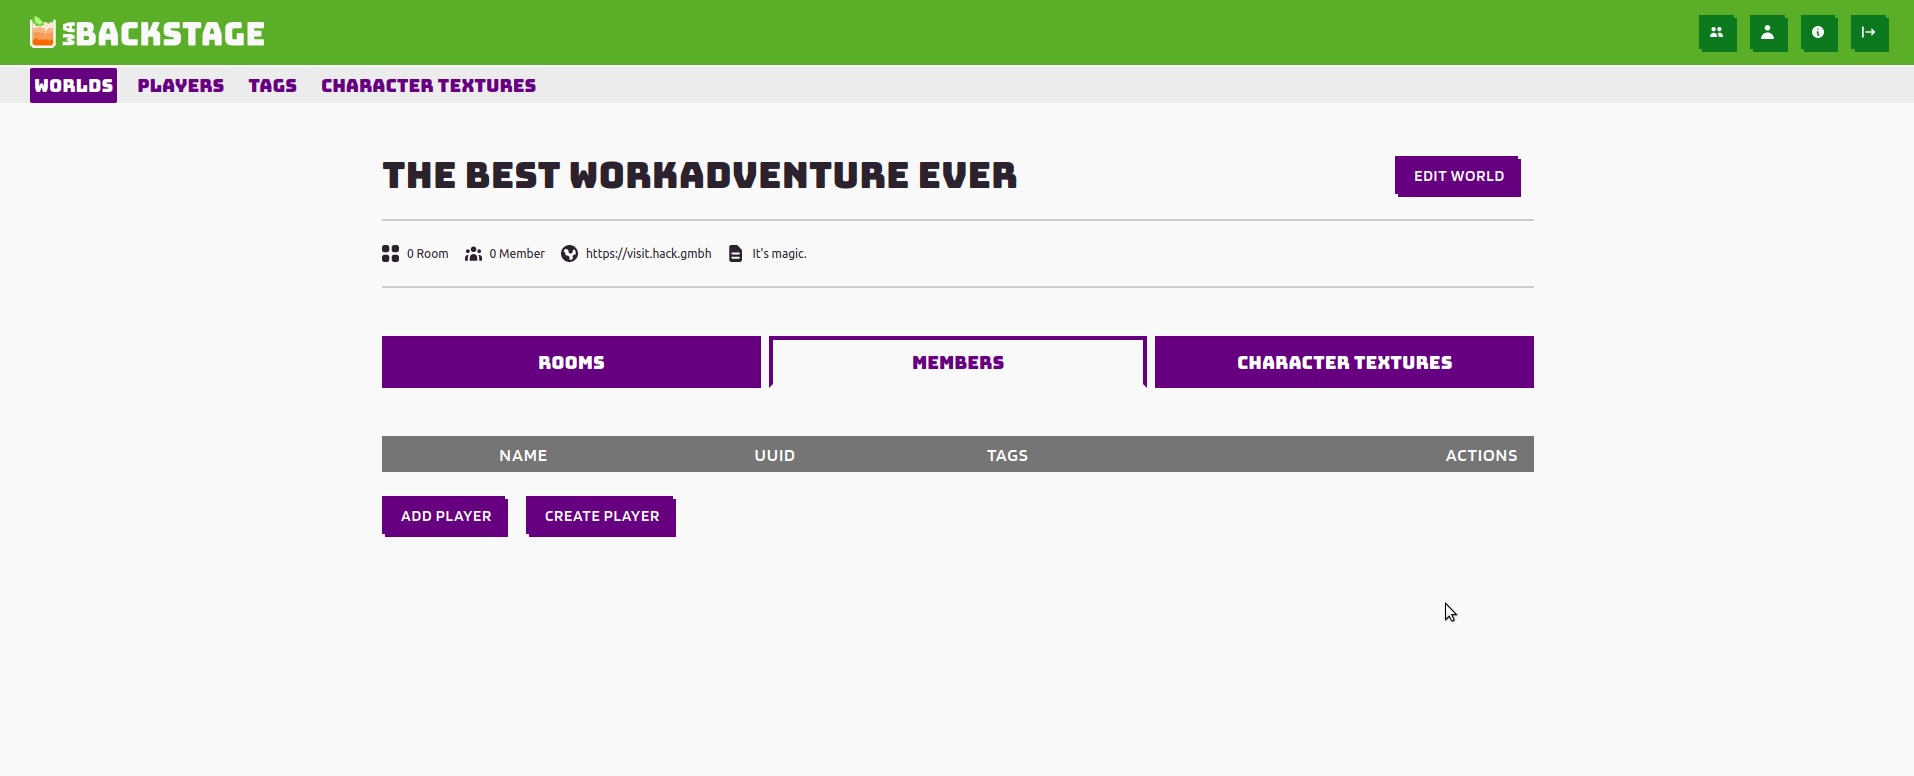
Go to MEMBERS
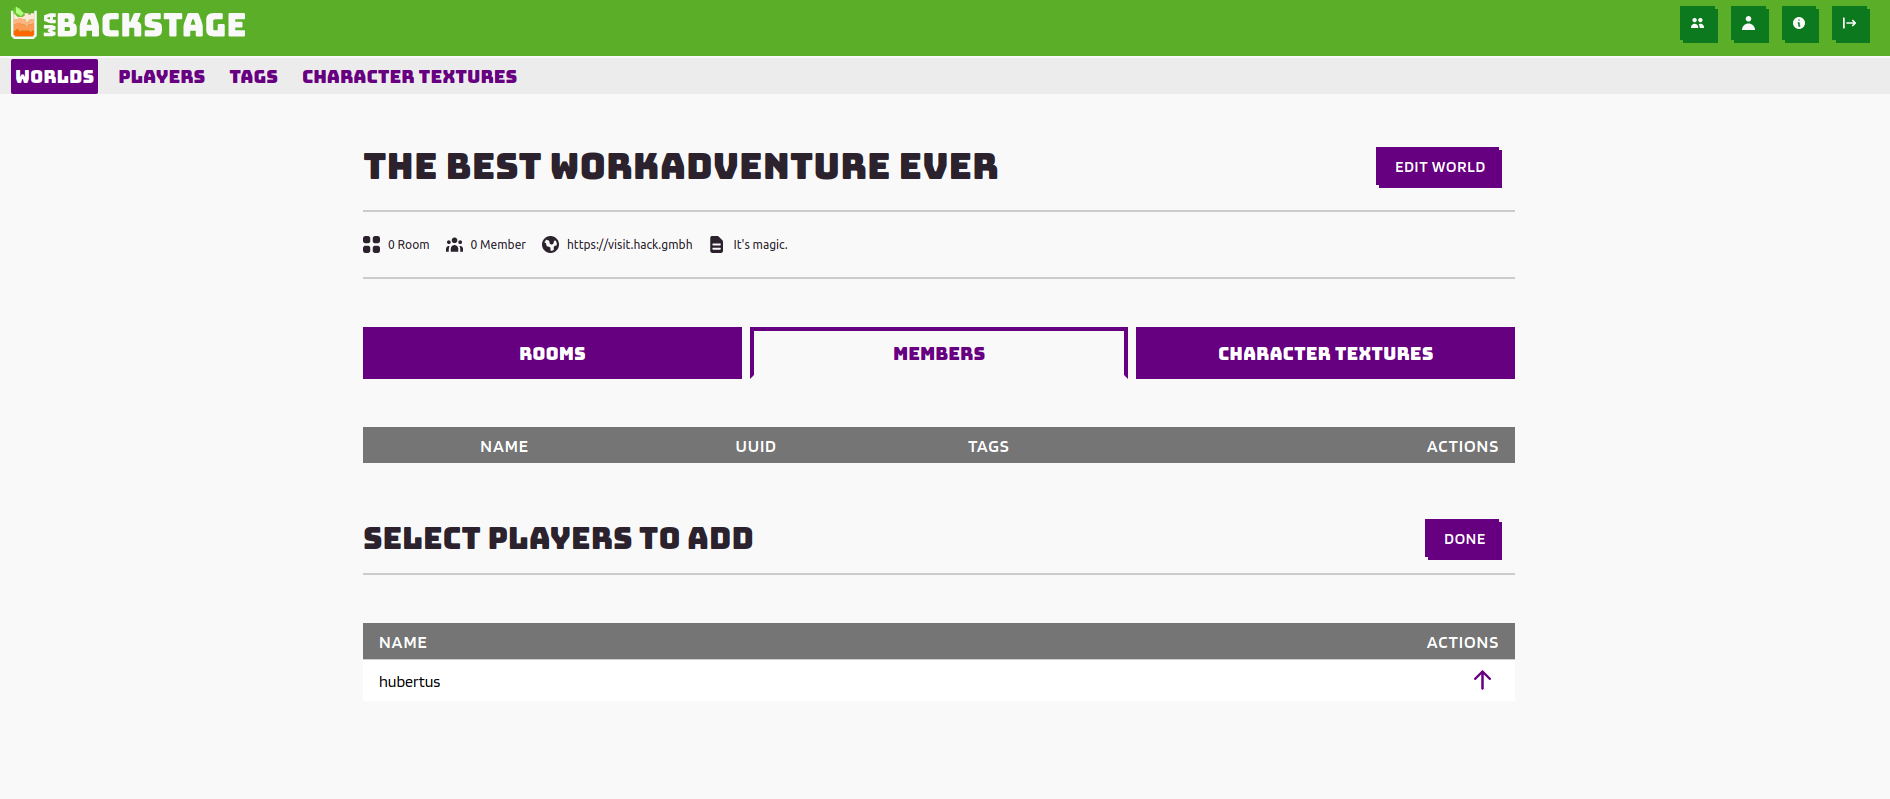
Click on ADD PLAYER
Click the ARROW icon to upload to attach your user to the selected WorkAdventure world
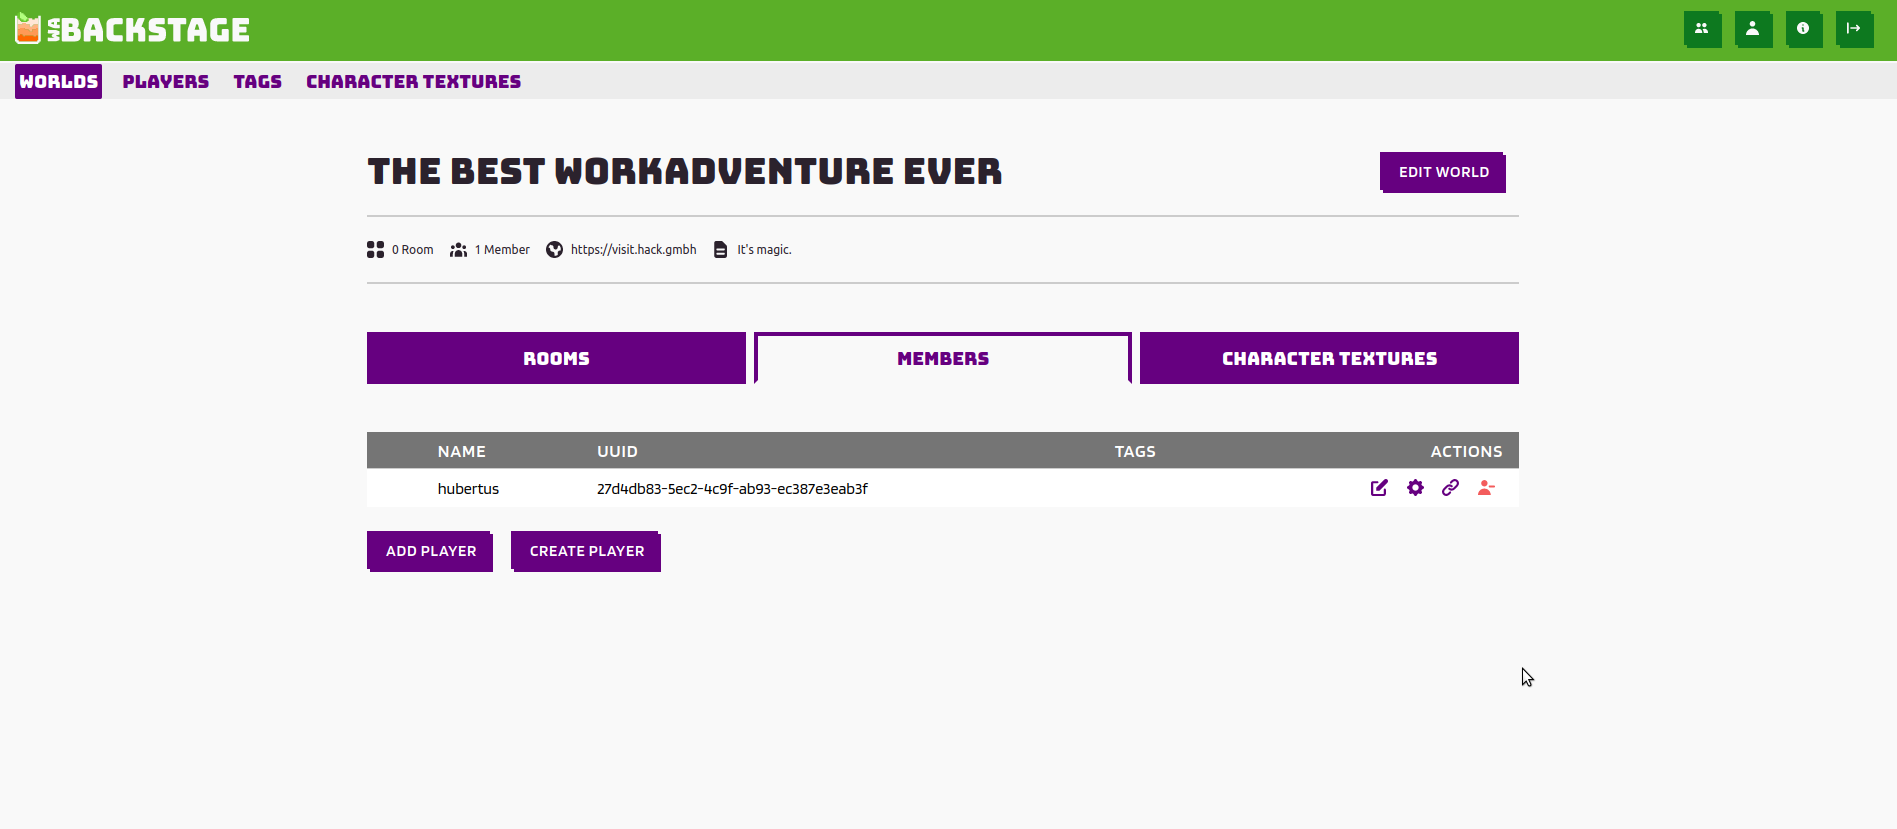 Now you see that our user has been attached to the WorkAdventure world and a UUID attached to his username.
This UUID is also part of the user registration link. You get the link by clicking on the
 paper clip icon.
The schema is:
https://visit.yourdomainname.example/register/users-uuid
You must send this link to the user if you want him to be able to log in to a WorkAdventure world with only-members access rights.
Select Admin(s)
WA Backstage offers the possibility to define a user as admin user for the WorkAdventure. To do this, select in the user menu
WORLDS > your world > MEMBERS > corresponding user > World Membership
and check the box "is admin?" for this user and save.
The next time the admin user logs into WorkAdventure, he will have an extra button in the menu which allows him to send texts to all or specific users in WorkAdventure.